A Step-by-Step Guide To Building a Website
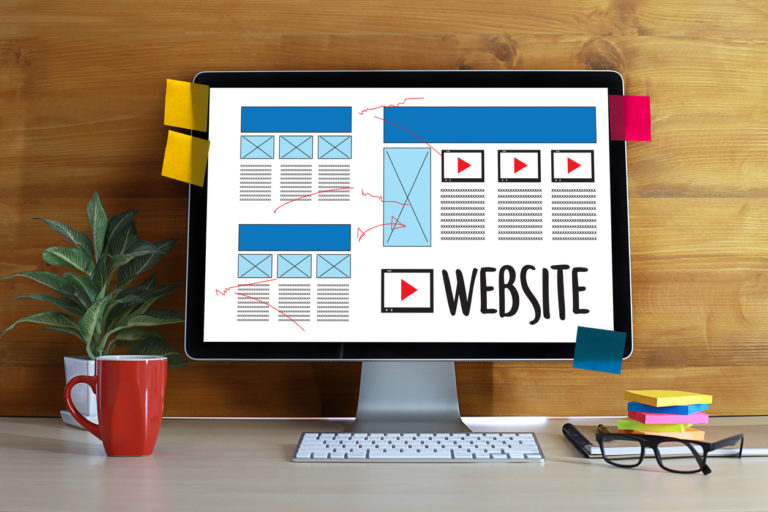
When you first start online, the idea of creating your first website/blog can seem very confusing and overwhelming.
Knowing what steps you need to take to get your website from your mental concept/brain to the internet may feel like a complex task that requires a lot of work.
In reality, setting up a website or blog is actually quite easy and can be done in less than 15 minutes if you know what you’re doing.
Step 1: Register a Domain Name
First things first: every website needs a name.
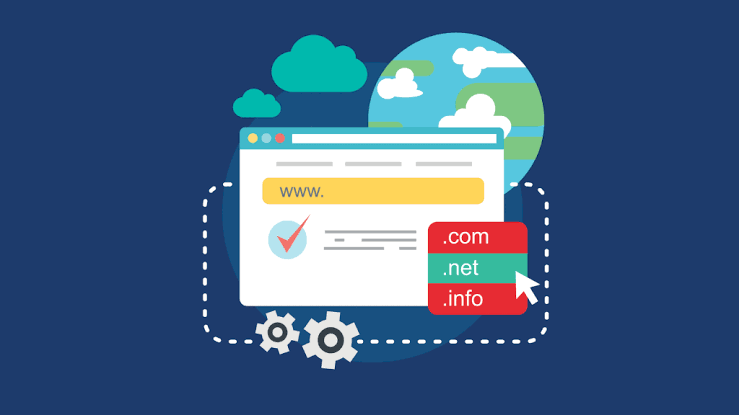
Without a name (also known as a domain name), your website simply cannot function. Think of it as a street address for a house, where the address is the domain name and the house is your website.
By owning a domain name, you’ll always have full control over your entire website, no matter what happens. Domains cost around $10/year and renew automatically until you decide to cancel.
- If you’re setting up a business website, your domain name should match your company name, for example, YourCompanyName.com
- If you’re planning on making a personal website or personal blog for yourself, then YourName.com is always a great option
- Don’t dwell too much. Most of the best and most unique domain names were bought up decades ago. Go with something that matches your website
The most common ones are .com, .net, and .org. These domain extensions are best suited for websites that want to get potential visitors globally (not just locally). For this site (WebsiteSetup), I chose WebsiteSetup.org, since .com was unavailable.
2. Make a Website With WordPress for Free
Once you have set up the platform, hosting, and bought your domain, it is time to make your own website. We will share a step-by-step guide on how to make a website on WordPress.
WordPress is highly flexible and scalable. The platform is suitable for any type of website, and its extensive gallery of plugins makes it easier to grow your site once it becomes more prominent
Install WordPress
WordPress is a free and open-source CMS. There are three main ways to install WordPress:
- Auto-installer. Some web hosting services, such as our WordPress plans, have an auto-installer feature for the software on its control panel. This WordPress installation is the most beginner-friendly option.
- Manually. Create your own database for a manual installation. The process will take longer, but it is still straightforward to follow.
- Locally. Install WordPress on your computer to test out changes before going online. Download the latest version of WordPress and install WordPress locally using MAMP for macOS or WampServer for Windows.
Choose a WordPress Theme
Website design is essential to attract visitors. Having a visually appealing design can also improve the user experience on a website.
Hiring a web designer to make a professional-looking website is an option, but it could be expensive. Luckily, the WordPress platform offers a user-friendly interface to help any user with web design.
There are over 8,800 free and premium WordPress themes in the official WordPress themes repository. Some designs are suitable for all types of websites, while others focus on a specific purpose:
eCommerce. For online store designs, most themes prioritize user experience, product pages, and payment gateways. Examples of popular eCommerce themes are Divi and GeneratePress.
Blogging. Prioritize SEO-friendly designs with excellent navigation. Blog themes like Astra and OceanWP are great to improve the design your site.
Portfolio. To showcase previous projects, choose a portfolio theme that is not distracting and can highlight your work. For example, use simple WordPress themes like Clean Portfolio or Air.
3. Pick a Design Template You Love
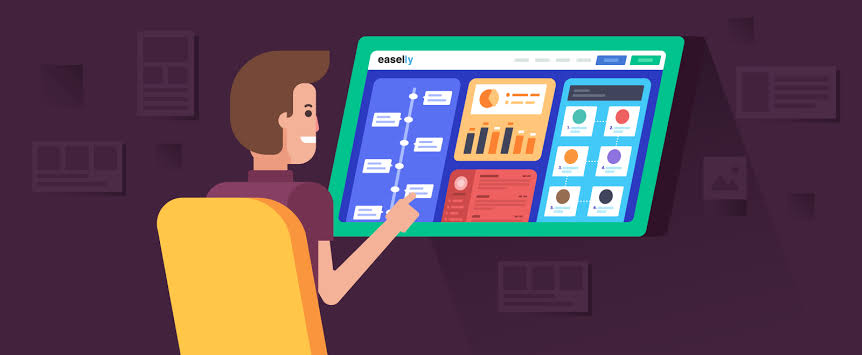
OK, so you’ve followed our steps to the letter: you’ve chosen a WordPress, signed up for a plan, and registered a domain. You’re ready to start creating a website. Rather than leaving you to do this all by yourself, WordPress support you through the process with templates.
Templates provide a framework for your website – a canvas for you to paint the content of your site onto. They’re how you can have a site that looks good without having to hire a designer
4. Upload and Format Your Own Content
Once you’ve played around with the colors and layout of your website, it’s time to start adding your content – that means images, videos and text.
You can replace any ‘placeholder’ content already on your template, as well as ‘dragging’ text and image boxes around each page (if you use a drag-and-drop builder).
Now, on to images. When it comes to picking the right pictures for your site, quality is key. Blurry images are simply out of the question.
5. Choose and Download Apps

Whatever you need your site to do, you can guarantee there’s an app for that. They can add missing functionality to your site at the click of a button, such as forms and social media integrations.
Installing these apps is super simple – just head to the App Market (or equivalent) for your builder. There, just like the App Store, you can see how much an app will cost (although many are free), what it does, and its user rating
6. Regularly Create and Publish Quality Content
Both content quantity and freshness are important to search engines, so it’s important that you create a plan to publish quality articles and/or blog posts on your site and on external sites that link to your site. If you want to rank highly in search engine results and encourage people to return to your site again and again, you will have to update your website with new and relevant content as frequently as possible.
In addition to static page content and articles, a great form of content to post on your website is testimonials. Asking for testimonials from your customers and then publishing them on your website is a great way to post fresh, high-quality content on your site that makes your small business more attractive.
7. Implement A Website Maintenance Plan
A website shouldn’t be created and then allowed to grow stale. In order to have a successful website that ranks well in search engines and doesn’t get hacked, you need to make sure it is properly maintained.
Check Webmaster Tools data at least once a month and have any vital errors emailed to you in real time.
Use traffic data to learn more about your audience so you can better cater to them.
Use performance data to optimize and fix warnings and errors.
Make sure all software is always up to date.
Run security scans so you know your website is clean of malware and hasn’t been hacked.
Use “split testing” to see if certain variations of your website help performance; for example, if you are selling a product, you might have two versions of a particular landing page with different images and wording—the split testing allows you to see which version has a higher conversion rate.
Thank you for your Valuable Time 💫

Leave a comment